Traction has been a hot topic this past Winter and even still. With our low snow amounts over the past few months, the trails were mostly ice and many of the higher elevation trails remain as slick as ever. NEM Guide Mike Cherim recently found the Ammonoosuc Ravine Trail “Some of the worst trail conditions he has ever seen.” As we move into Spring in the mountains, we often see the trails take on a “monorail” of snow and ice directly in the middle of the trail. This can sometimes be a foot or more high. The snow gets packed down by hikers, snowshoers, and climbers all Winter. As the snow gets packed harder and harder, it eventually turns to ice. As we all know, ice melts much slower than fluffy snow so in the Spring we are left with icy trails with dirt and leaves everywhere else. Those who are unprepared will walk to the side of the icy trail, which in itself creates all kinds of other problems.
Knowing the trail conditions as they are, I am often conflicted about which traction I will need to stay safe and efficient. Every trip is different and the terrain will dictate what kind of traction I should bring along. I often find myself bringing 2 different types with me. I recently was part of a Search and Rescue team who had been called to look for two individuals who were in distress. When we located them, they were outfitted head to toe with the latest gear including radios, GPS, knives, firestarters, bivy sacks and more. Unfortunately, they overlooked traction. Luckily we brought extra with us and we were able to hike out without incident. They even admitted that had they had traction, they may never have called for a rescue. Here I will go over the different types of popular traction and their pro’s and con’s.
YAKTRAX
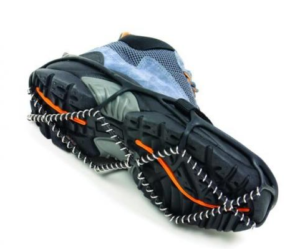
This is the most basic type of footwear traction available. These should only be worn on flat trails that have small patches of ice, but mostly snow and dirt. They offer very limited security on ice and snow slopes.
PROS
Lightweight.
Easy to put on and take off.
Inexpensive ($20).
Allows full flexion of the sole of your boot.
Hardly know you are wearing anything.
Intuitive use; no training needed.
CONS
Effective on flat ice and hard snow ONLY. Think getting the mail from the mailbox or ice fishing.
Will slip on angled ice and snow.
If used often, they may need to be replaced yearly or several times in a year as they will break.
Will sometimes shift on your boot and will need to be adjusted regularly.
KAHTOOLA MICROSPIKES
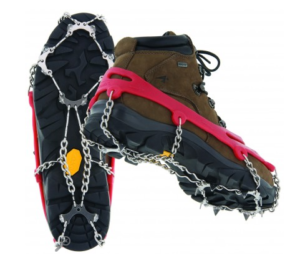
These straightforward spikes are excellent for low angle ice. They will begin to slip on ice over 20 degrees or so, especially on the descent. If your route stays at a fairly moderate grade, these may be the tool for the job. These are ideal on hard packed trails that see a lot of use. They will tolerate very low-angle ice in most cases.
PROS
Lightweight.
Easy to put on and take off.
Inexpensive comparatively ($60).
Allows full flexion of the sole of your boot.
Hardly know you are wearing anything.
Intuitive use; no training needed.
CONS
Effective on low angle ice and hard snow ONLY.
Will slip on angled ice above 20 degrees.
If used often, they may need to be replaced yearly as they will dull.
The connection between the rubber and the chain can break after a lot of use.
Will sometimes shift on your boot and will need to be adjusted regularly.
No front points.
HILLSOUND TRAIL CRAMPONS
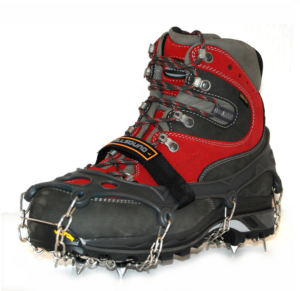
This type of traction is very similar to the Kahtoola Microspikes and have the same limitations and advantages. You could read many gear review sites out there and I am positive there will be some die-hard Microspike fans and some die-hard Hillsound fans. In my book, they are virtually the same when we are looking at the broad spectrum of traction.
PROS
Lightweight.
Easy to put on and take off.
Inexpensive comparatively ($60).
Allows full flexion of the sole of your boot.
Hardly know you are wearing anything.
Rip and stick strap over the top of the foot helps keep the traction in place.
Less adjusting after putting them on.
Intuitive use; no training needed.
CONS
Effective on low angle ice and hard snow ONLY.
Will slip on angled ice above 20 degrees.
No front points.
If used often, they may need to be replaced yearly as they will dull.
The connection between the rubber and the chain can break after a lot of use.
FULL MOUNTAINEERING CRAMPONS
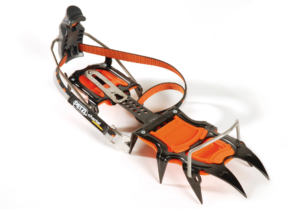
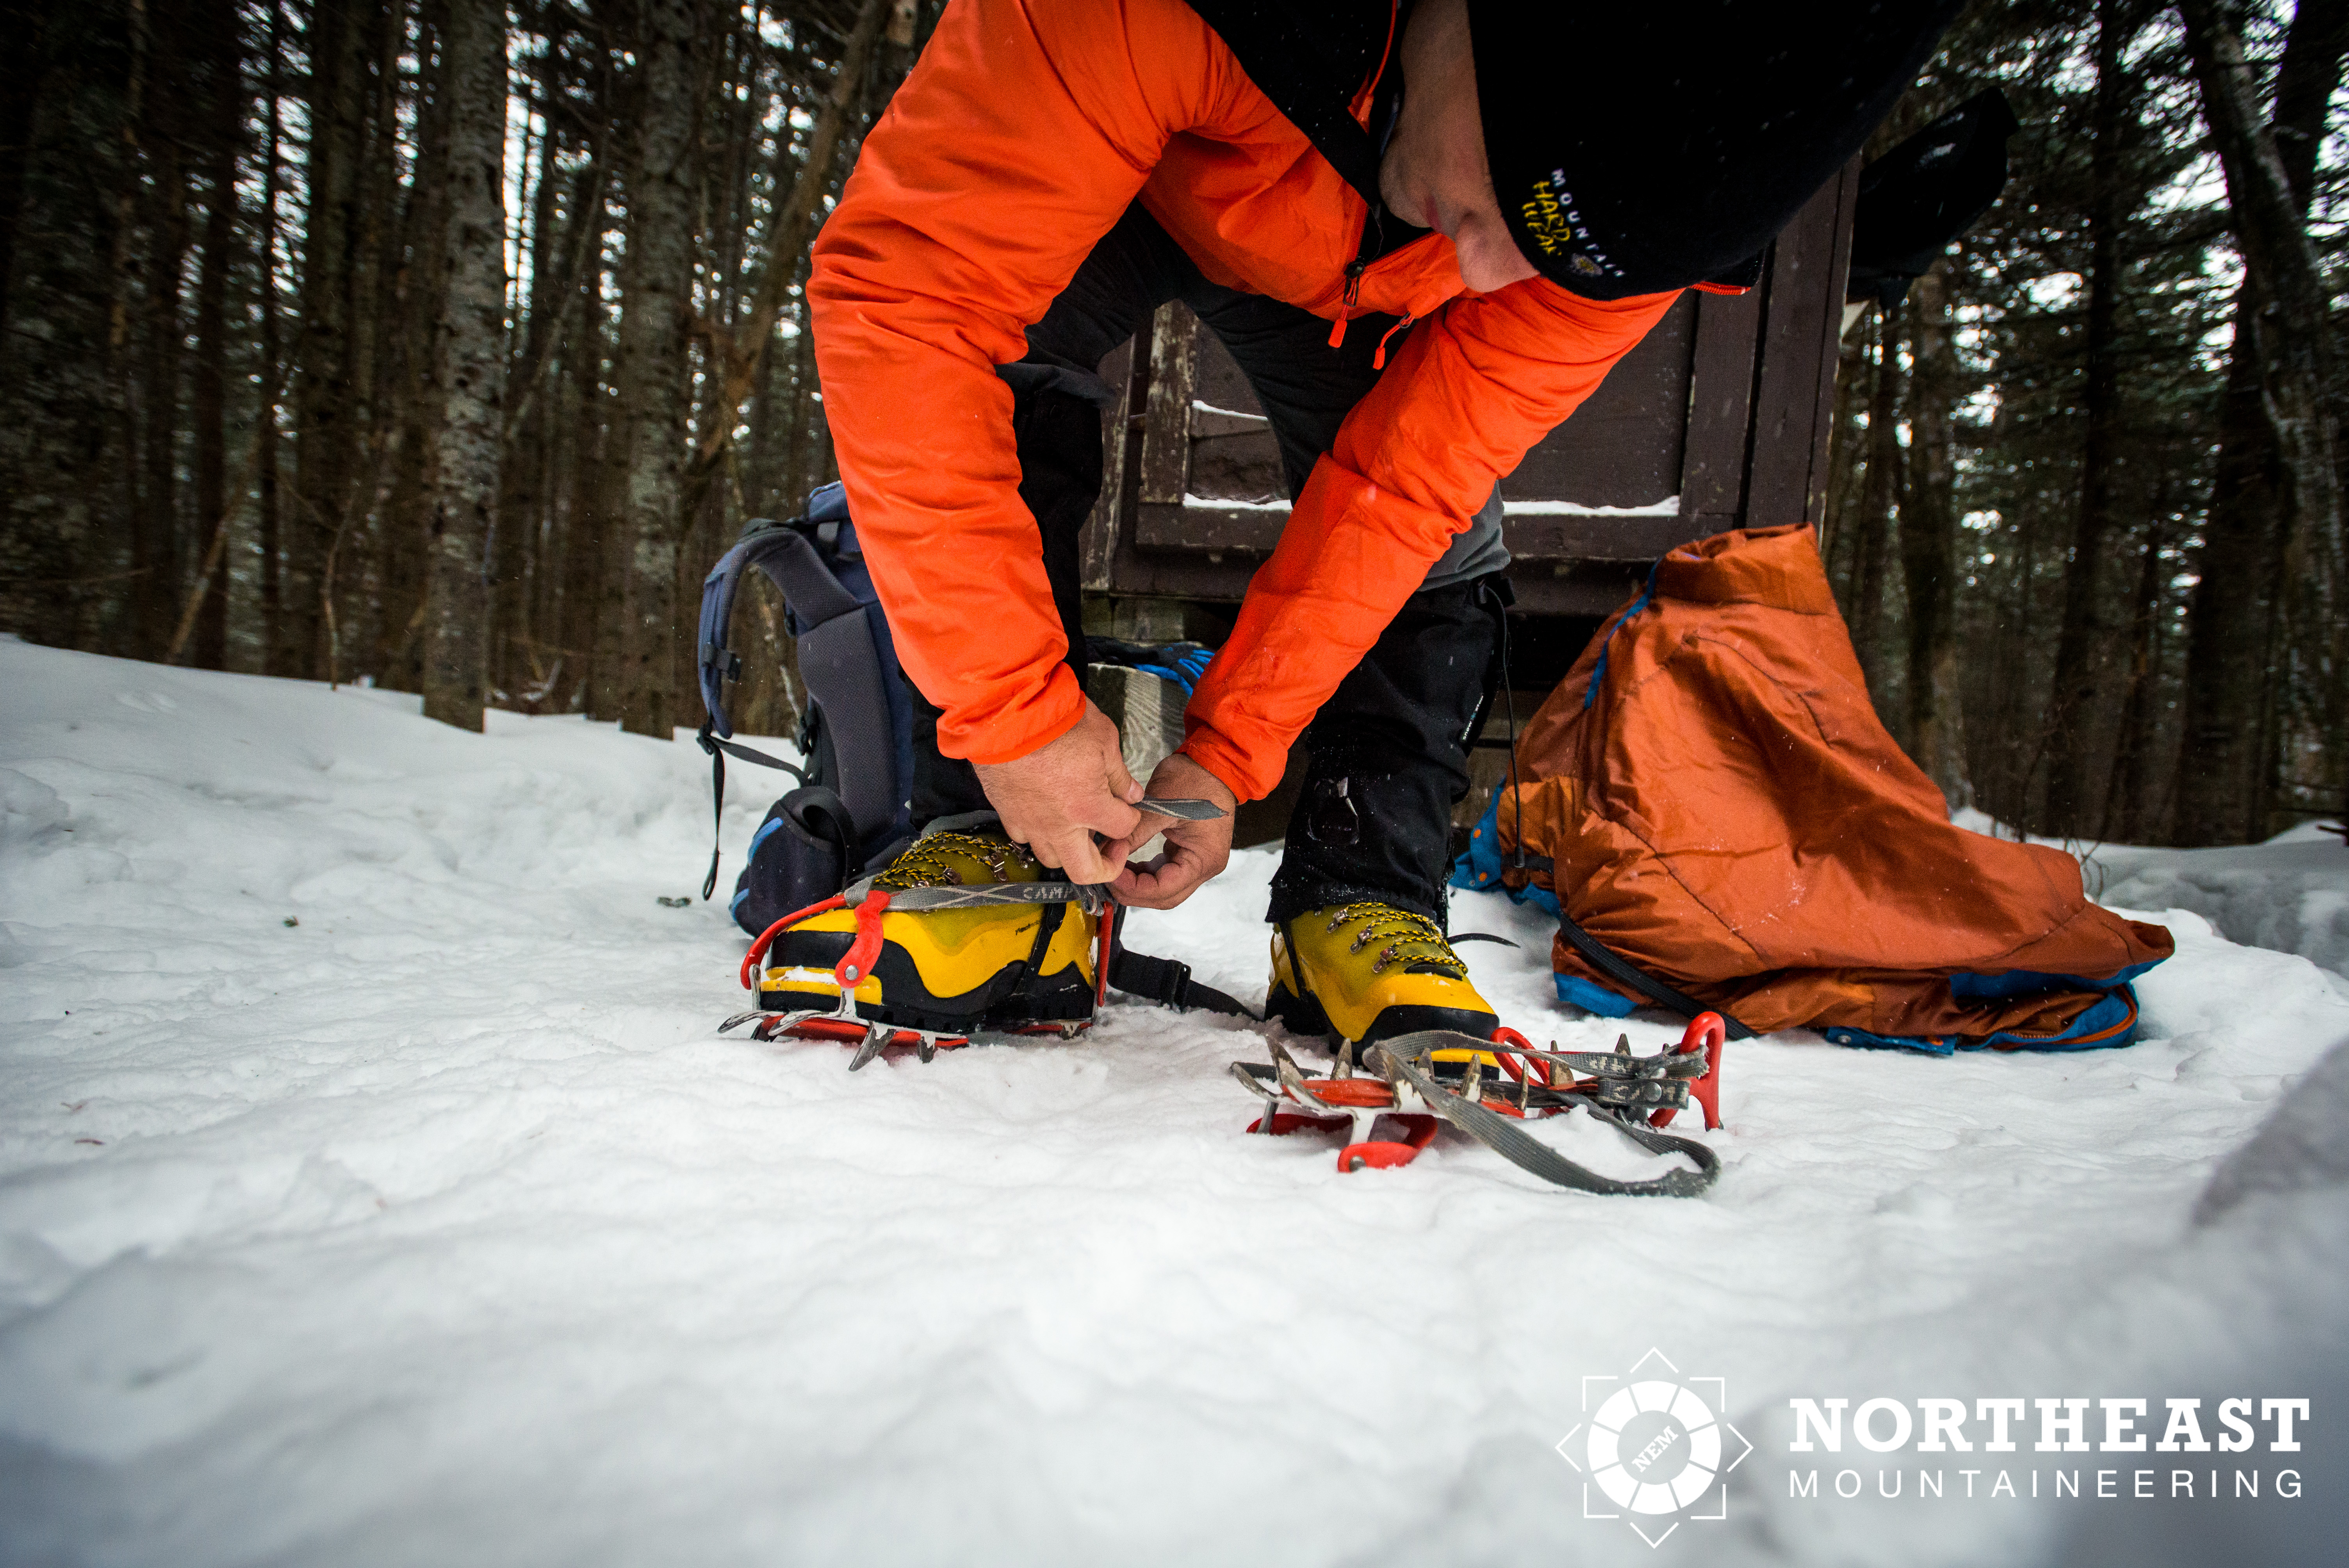
Full crampons are the the safest bet. When you don’t know what you might run into, full crampons would be the way to go. I often bring these in conjunction with Microspikes and will use them when the Microspikes begin to slip. These are excellent for low angle and high angle snow and ice and everything in between.
PROS
No adjustments needed after putting them on.
Very secure on your boot.
Long spikes really sink into the snow and ice.
Front points allow you to climb vertical ice.
Excellent for any angle snow and ice.
Strong construction; rarely breaks.
Will often last many seasons depending on the use and the terrain.
CONS
Expensive ($130)
Heavy
Greatly minimizes the flexion of your boot making walking on low angle terrain a bit more strenuous.
Takes longer to put on and take off.
Requires training to use properly and efficiently.
SNOWSHOES
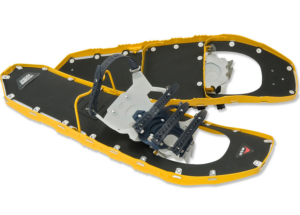
Many view snowshoes as flotation instead of traction, and this is true. However most modern snowshoes have traction on the bottom and sides of them. I am including these so that you can get an idea of what they are not good for, rather than what they are good for. Every winter we see snowshoes being used in terrain that really require crampons or Microspikes. These would be used for a trail that has several inches of fresh snow on it with short patches of hard-packed snow.
PROS
No adjustments needed after putting them on.
Very secure on your boot.
Also offer flotation.
Only good on snow and hard packed snow up to 25 degrees or so.. NOT FOR ICE OR HIGH ANGLE SNOW.
Will often last many seasons depending on the use and the terrain.
CONS
Expensive ($120 -$250)
Heavy
Bulky
Do not pack well when not in use.
Takes longer to put on and take off.
Requires a slightly wider gate when you walk.
Not appropriate for ice of any kind (microspike or crampon terrain).
Not appropriate for high angle snow.
These are by no means, a full and complete list of traction devices but it is a great start. The point I am trying to convey is to create awareness that these are out there and they are mandatory for trails in the White Mountains from November – May. Many accidents could be avoided with the proper traction.
As I write this (April 26, 2016), we are still in full crampon season on many trails, especially the higher elevation and high-use trails. If I were to head out for a hike in these areas, I would bring crampons AND Microspikes or Hillsounds. I would wear the Microspikes or Hillsounds for most of the hike and switch to crampons for the steeper terrain and for the descent when a slip is more likely. The key is to switch your traction BEFORE you slip or get into a place where making the transition is risky or difficult.
Happy hiking! Stay safe and have fun!

 We are proud to work with the Department of Agriculture, the White Mountain National Forest and the Androscoggin Ranger District where we are authorized outfitter guides.
